Showing posts with label Stitched birds. Show all posts

Saturday, 4 May 2013

Driver bird.

I've been having a tidy up today of all the stuff I had out to make the book (there's quite a bit), and I'm still feeling good that it's actually finished! It's also strange to not be sewing when you've been working at something for a long time.. I still had a bird on the go and I had started him around the same time as the book. He's in the picture below waiting for his belly part to be stitched together. I'm making him for the group display at our exhibition.


He's made from an old driving glove. My husband had thrown the gloves in the bin, I'd say they're pretty old, but I could see a use for them. I made the bird from the same pattern as the blue tit.

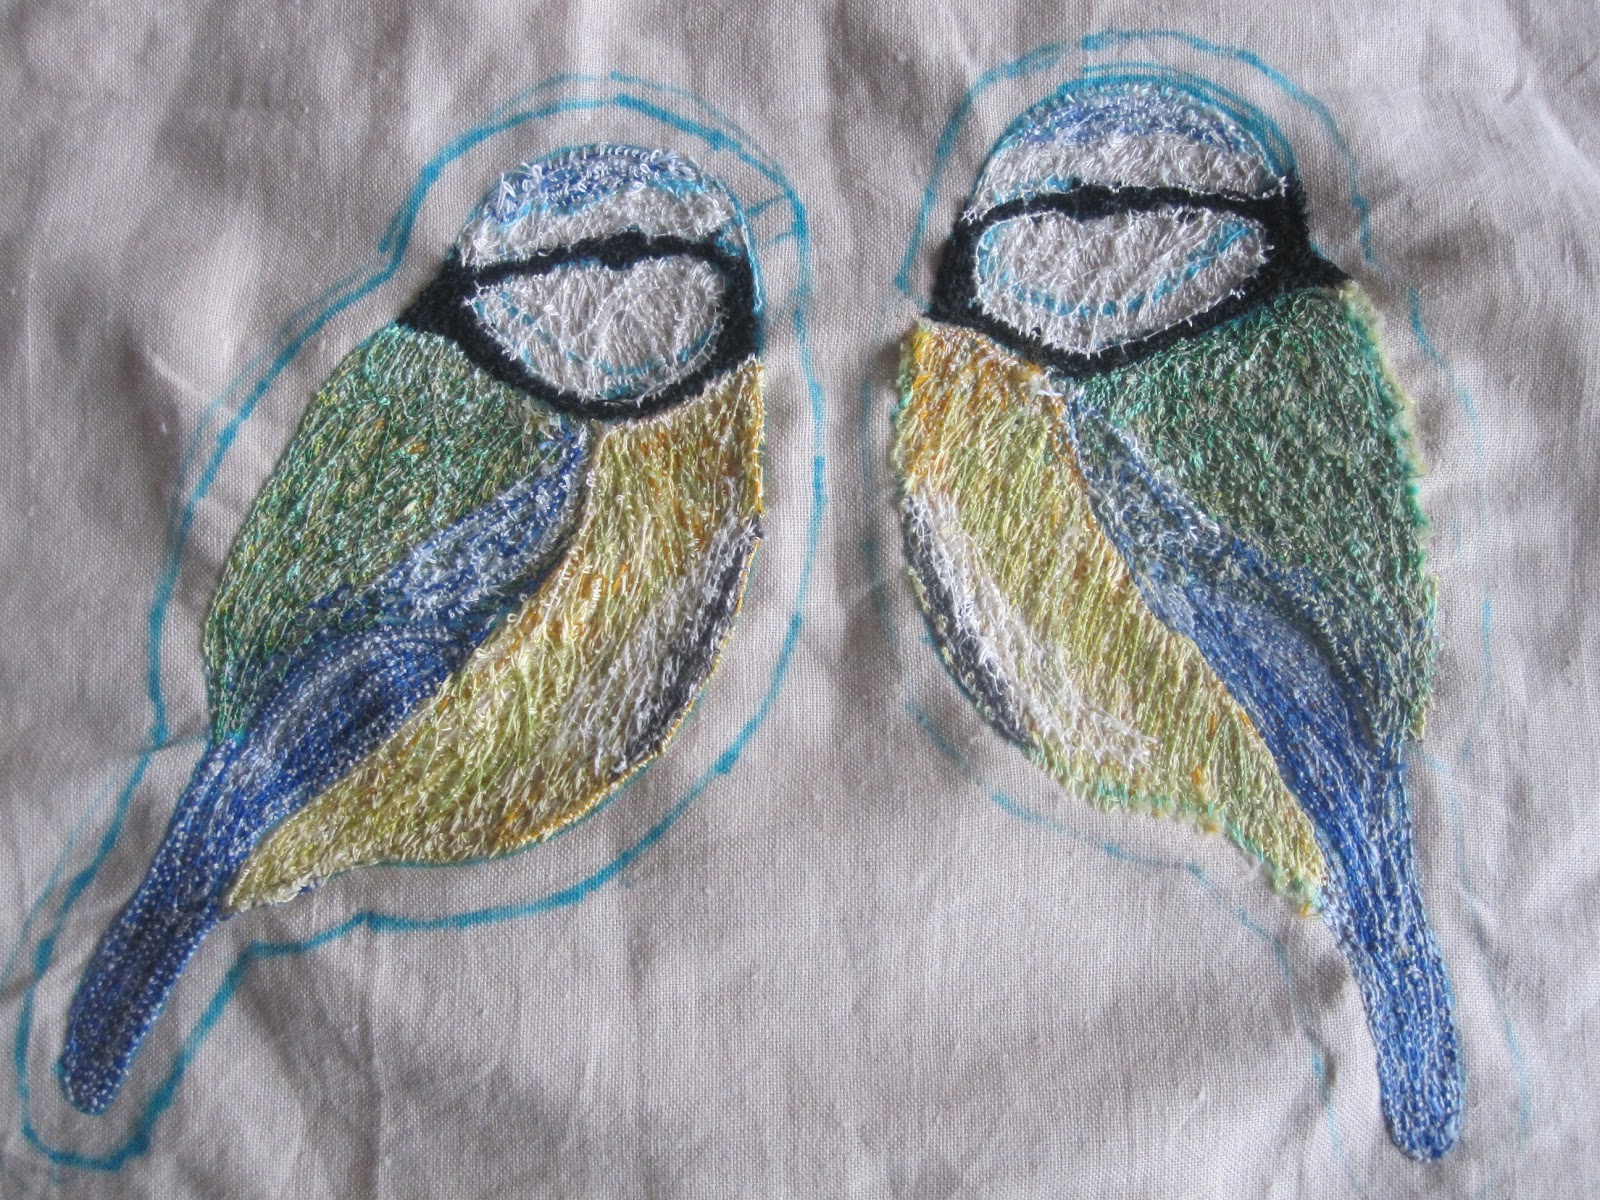
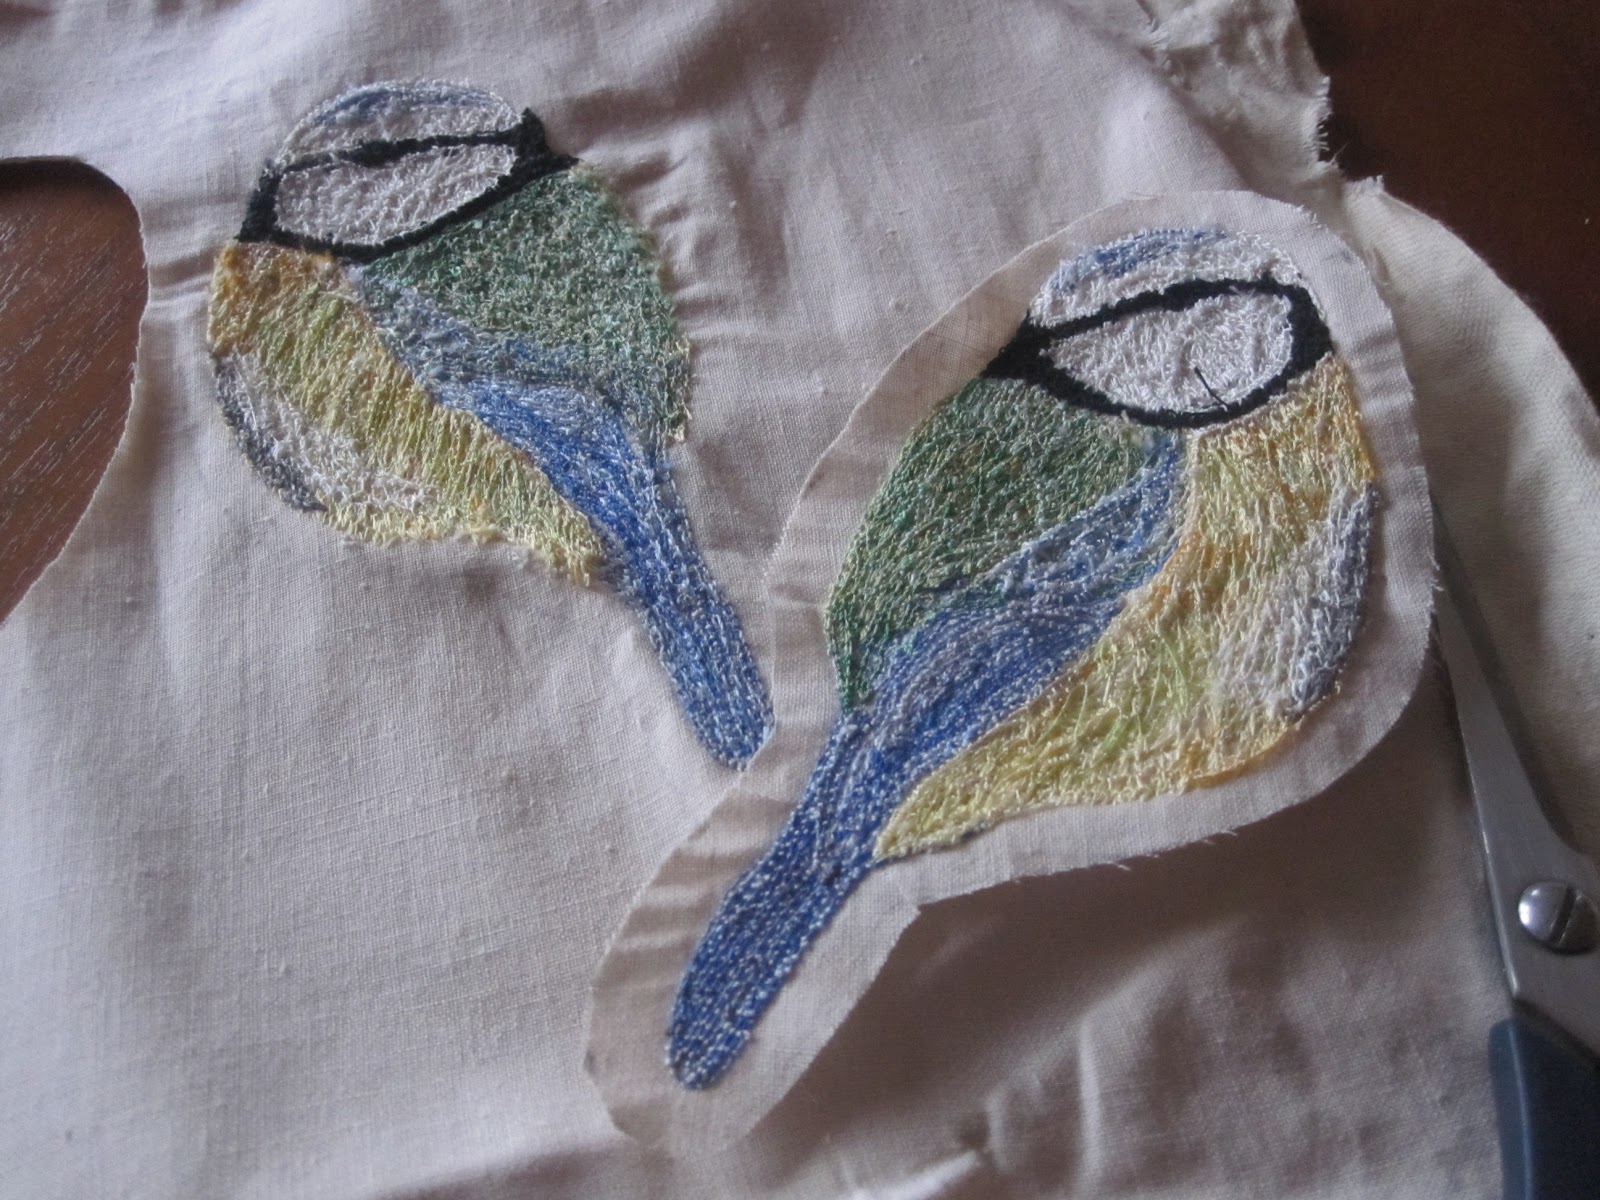
I machine stitched on the wings and cheeks and then snipped between the lines. Then I made holes round the edges with the machine as I thought it would make it easier to hand stitch the leather pieces together.


... almost 3 months later and I'm glueing in the legs!
 His beak is the end of a golf tee (thankyou Sharon!).


I'm glad I waited because just recently I got this book out of the library.
Matt Sewell 'OUR GARDEN BIRDS'..... I love this book, gorgeous little drawings of birds,water colour painted.  Beside each bird Matt writes an amusing description about the bird and its character.


I thought my bird seemed to be of the Passer montanus family after reading Matt's description.


So I finished him off with a cap and a scarf.


Now, where did I put the keys to the sports car?

Tuesday, 5 February 2013

Blue tit (5).. and a little poem.

Reflection.

My skin is plain old cotton
And my belly's full of stuffing

My feathers are embroidery threads
With stitching, stitching, stitching...

I've glue and twisted wires
For my legs and claws and beak

I'm sensing that my time has come
To take a little peek

My maker stitched my beady eye
Then went and fetched a mirror

I puffed up like a proud blue tit
'Twas time for  - 'The Reveal'

She perched me on a mossy branch
My heart was all a flutter

"Now smile, say cheese,
Watch the birdie."

I peered out through my beady eye
And gazed at my reflection

For the handsome bird looking back at me

Well, you'd swear that he was real!

Monday, 4 February 2013

Blue tit (4).

Almost there. Sorry, I'm slow and methodical!
I oversewed the body leaving a gap under his belly for the stuffing.
Made the legs at the weekend from garden wire and I've wrapped them with thread and added some PVA glue to stiffen them. I had to cut them in half as realised I'd have to insert them through the body for the bird to stand properly .


I cut tiny holes each side of the body to insert the legs then glued the extra wire to the inside.
        His little beak is made from wire too and wrapped with a narrow strip of fabric and PVA, it makes it easier to manipulate and gives a realistic shape. I've painted it black. 
I mixed some PVA with the stuffing for his head hoping it would hold the beak in place.

I
I stuffed him with soft toy filling until quite firm and oversewed his belly.


He's almost finished. Looking quite like a bird now but his white cheeks are too big. 
I've added a bit more stitching on the wings and they just have to be attached.


                        Oh, almost forgot those little beady eyes!


Thursday, 31 January 2013

Blue tit (3).


I'd better hurry up and get this bird made, I had visions there of the post title being Blue tit (15)!

I've finished with some machine embroidery, in blue, to the top of his head and rinsed out the water soluble  blue ink.


Time to separate these two love birds.


 I left a 1/4" of  material round the edge thinking I would fold and tack it to the wrong side.


Then I had a change of mind and cut the extra material right off.
So for Blue tit (4) I'm going to oversew him together and stuff  - leaving the tail free.
Then there's a beak and his claws to make -  and his wings to sew on to his body.
Not quite there yet.

Monday, 28 January 2013

Blue tit (2).

Ever wish you hadn't started something?

There are so many different colours on a blue tit ...
.. and I'm wondering how I'm going to stitch these together because..
despite me thinking I'd traced them fairly accurately it's hard to stitch them exactly the same..

but I'm persevering.


---------------------------------------------------------------------------------------------------------------------------

Apart from the blue tit project, I'm looking for something else to make for our exhibition 'Flights of Fancy'.

We've got this lovely old book in the house and I'm  looking through it for some inspiration.


It's worn and tattered at the corners and the page edges look marbled.

There are lovely colour pictures inside and I liked this drawing of a bird and its parts.
             
I've been helping my grand children to colour in my Ikea fabric with fabric markers.


So I might just stitch on these.

Friday, 25 January 2013

Blue tit (1).

I bought this birdy fabric in IKEA... 2008 is printed on it. Was it that long ago?
At the time I had all sorts of bright ideas of what I could do with it, but it got stuffed in a cupboard and forgotten about.
Well, my craft group holds its exhibition in May and, this year, our group project is to make a bird, bee or butterfly.
I got my fabric out of hiding.


I had an idea that I would paint two little blue tits, cut them out, sew them together, stuff it, add a bit of stitching - and that would be that. More or less.
No, I had to complicate things.
Instead, I decided to trace the blue tit, and all it's individual parts, from my piece of fabric.
As usual, I'm making it up as I go along.


I've traced the body shape on to a piece of cotton and I've made a little 'gusset' pattern for the top of his head.


Now I'm free - machining his tummy. My machine is acting up and the tension is giving me more of a whip stitch but it makes it look softer and feathery.


    I'm using some variegated threads. Does he looks a bit bright?


Then I thought he might need some wings to sit free from his body. I cut this leaf print from a piece of fabric and ironed it on to some painted Bondaweb - just to stiffen it. Then I cut  out the wing shape.


I'm stitching by hand - a 'stacked arrowhead' stitch as it has a feathery look,

                                             and the more I stitch , the more random it gets.
wings

                         Then sometimes the wrong side turns out to look better than the right side.
                                       Why do my bright ideas always turn into lots of work?!